Classic Chocolate Lava Cakes
Highlighted under: Soft Collection
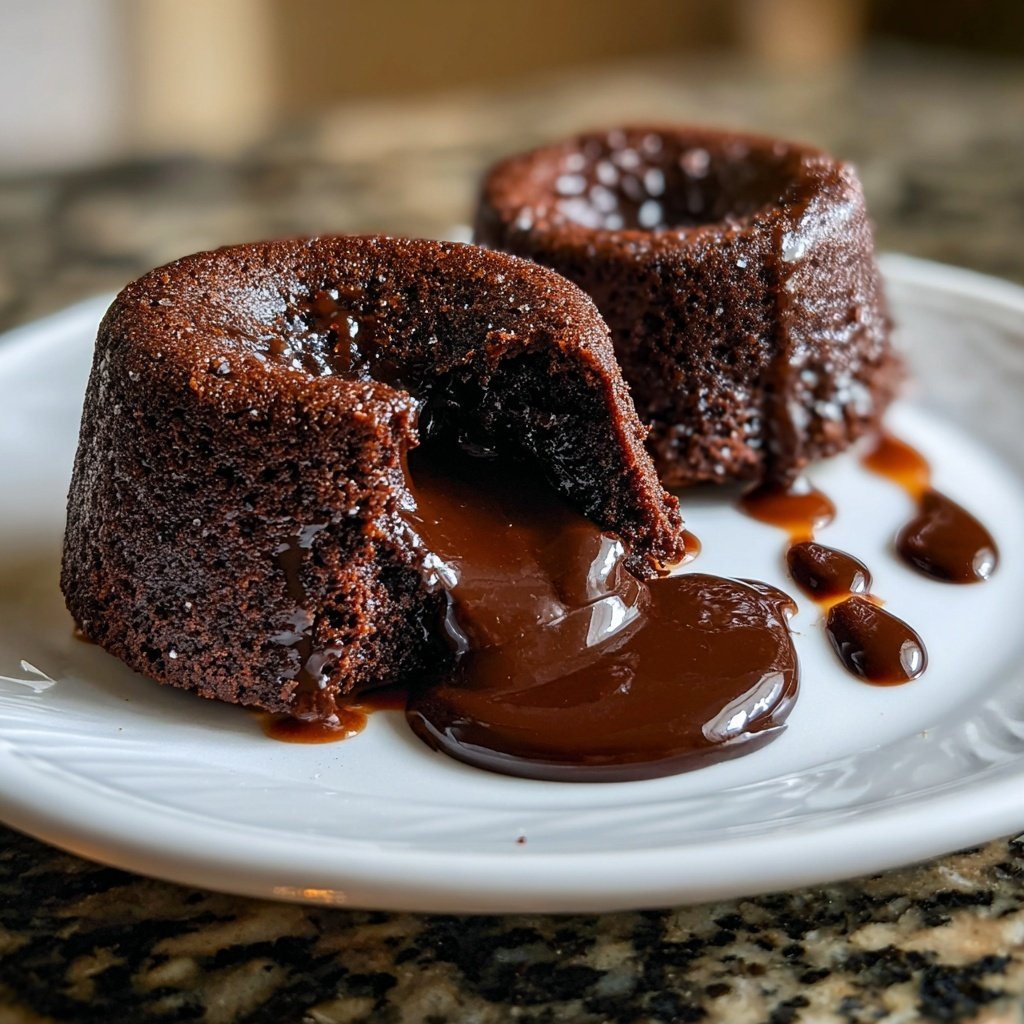
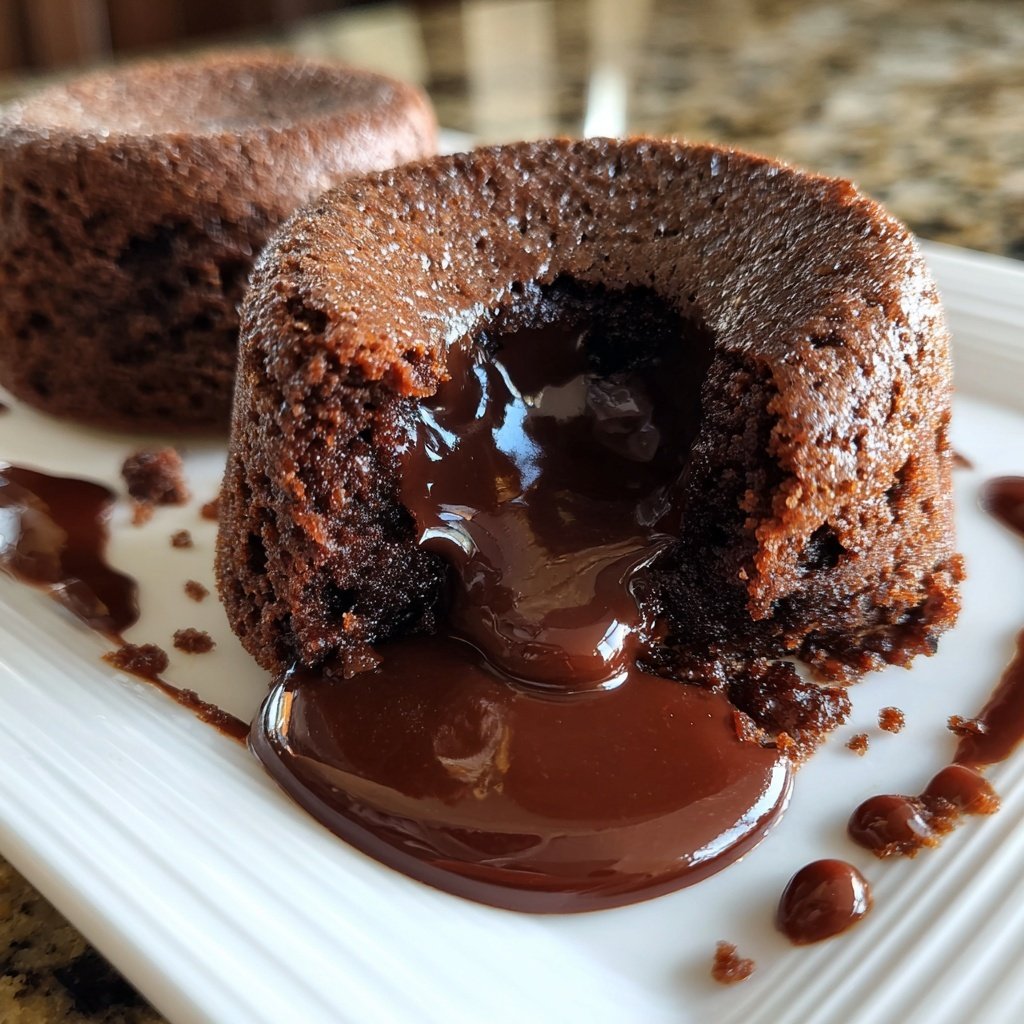
I absolutely adore making classic chocolate lava cakes for special occasions. The moment you cut through the cake and that rich, gooey chocolate center spills out is simply magical. It’s an indulgent treat that always impresses guests and family alike. The recipe is deceptively simple, yet it yields such a stunning dessert. Paired with a scoop of vanilla ice cream, these lava cakes are sure to be a showstopper at any dinner party or celebration.
When I first tried making chocolate lava cakes, I was in awe of how simple ingredients could create such an exquisite dessert. The trick lies in the timing and the quality of chocolate you use. I found that using high-quality dark chocolate not only enhanced the flavor but also contributed to that luscious, molten center.
Each time I make these lava cakes, I experiment a little with the baking time. I've learned that taking them out just as the edges firm up while the center still jiggles guarantees that perfect gooeyness. Don’t be afraid to play around until you find the sweet spot for your oven.
Why You'll Love This Recipe
- Rich chocolate flavor paired with fresh orange zest
- Creamy texture that melts in your mouth
- Perfect for celebrations or as a sweet indulgence
Perfecting the Lava Cake Technique
Achieving the perfect lava cake requires careful timing when baking. Monitor the cakes closely towards the end of the baking time; they should have firm edges while the center remains jiggly. If you bake them for too long, you’ll lose that delightful molten core, so set a timer for 12 minutes, and check for doneness early if you’re unsure. Once baked, let them cool for just one minute; this brief resting period is crucial for ensuring the gooey center doesn’t solidify.
Using high-quality dark chocolate elevates the flavor of your lava cakes. I recommend a chocolate with at least 70% cocoa content for its rich taste that complements the sweetness of the sugar. If you're looking for a lighter option, consider using semi-sweet chocolate, but avoid milk chocolate, as it may not provide the same deep, indulgent flavor. Remember, the higher the quality of chocolate, the better the end result.
Ingredient Insights and Substitutions
The role of eggs in this recipe cannot be overstated. They not only provide structure but also contribute to the rich texture that lava cakes are known for. If you're looking for an egg-free alternative, you can experiment with flaxseed eggs or silken tofu. For each egg, use one tablespoon of ground flaxseed mixed with two and a half tablespoons of water, allowing it to sit until it thickens. However, results may vary in terms of texture and flavor.
If you're concerned about gluten, you can substitute the all-purpose flour with a gluten-free variety, such as almond flour or a gluten-free all-purpose blend. Keep in mind that this could slightly alter the texture, so consider adding a teaspoon of cornstarch to help retain some lightness. Regardless of the flour you choose, ensuring a gentle hand while mixing is key to maintaining that delicate structure.
Serving Suggestions and Variations
Serving your lava cakes with a scoop of vanilla ice cream adds a luxurious creaminess that balances the rich chocolate. For a twist, try adding a drizzle of raspberry coulis or sprinkle some crushed nuts for texture. Additionally, a light dusting of powdered sugar just before serving can enhance the visual appeal and introduce a little sweetness without overwhelming the chocolate flavor.
As for variations, think outside the chocolate box! You can incorporate flavors like espresso, hazelnut, or even caramel into the batter. Simply mix in a teaspoon of your chosen flavoring with the melted chocolate. When using caramel, be cautious not to oversaturate the batter, as it may disrupt the lava flow. With these tweaks, you can delight guests with a unique take on a classic dessert.
Ingredients
Gather these ingredients to create the perfect lava cakes:
Lava Cake Ingredients
- 1/2 cup unsalted butter
- 1 cup high-quality dark chocolate, chopped
- 2 large eggs
- 2 large egg yolks
- 1/3 cup granulated sugar
- 2 tablespoons all-purpose flour
- 1 teaspoon vanilla extract
- Pinch of salt
- Butter and cocoa powder for ramekins
Make sure all ingredients are at room temperature for a smoother batter.
Instructions
Follow these simple steps for your delicious lava cakes:
Prepare Ramekins
Preheat your oven to 425°F (220°C). Grease four ramekins with butter and dust with cocoa powder to prevent sticking.
Melt Chocolate and Butter
In a microwave-safe bowl, combine the butter and chopped dark chocolate. Microwave in 30-second intervals, stirring until smooth.
Mix Ingredients
In a mixing bowl, whisk together the eggs, egg yolks, and sugar until thick and pale. Gradually fold in the melted chocolate mixture, followed by flour, vanilla extract, and a pinch of salt.
Fill Ramekins
Divide the batter evenly among the prepared ramekins, filling each about 3/4 full.
Bake
Bake for 12 minutes, or until the edges are firm but the center remains soft. Let them cool for 1 minute.
Serve
Carefully run a knife around the edges of the cakes to loosen and invert onto a plate. Serve immediately with vanilla ice cream.
Enjoy your decadent treat while it's warm!
Pro Tips
- For an extra flourish, you can dust the cakes with powdered sugar and serve with fresh berries to elevate your presentation.
Make-Ahead and Storage
If you want to prepare your lava cakes in advance, you can mix the batter ahead of time and store it in the refrigerator for up to 24 hours. Just remember to bring it back to room temperature before filling the ramekins and baking. Alternatively, you can also fully bake the cakes in advance, allow them to cool, and store them in airtight containers in the refrigerator for up to two days. To reheat, place them in a preheated oven at 350°F (175°C) for about 8-10 minutes until warmed through.
Lava cakes are best enjoyed freshly baked, but they can be frozen as well. After baking, allow the cakes to cool completely before wrapping them tightly in plastic wrap and aluminum foil. They can be frozen for up to two months. To enjoy, simply bake from frozen at 425°F (220°C) for about 15-17 minutes, adding a few extra minutes of bake time to ensure the center is warm and gooey.
Troubleshooting Common Issues
One common issue with lava cakes is having a thick, cake-like center instead of the desired molten core. This often happens if the cakes are baked for too long. Keep a close watch as the bake time approaches 12 minutes, and rely on the appearance of slightly puffed edges and a jiggly center to dictate doneness. If this does happen, note the time for your next batch to get it just right.
Another problem may arise with the cakes sticking to the ramekins. To avoid this, generously butter the ramekins and dust with cocoa powder before adding the batter. If you notice that the cakes are still sticking, run a thin knife around the edges to help release them, and gently shake the ramekin to loosen before inverting them onto plates.
Questions About Recipes
→ Can I use milk chocolate instead of dark chocolate?
Yes, but it will alter the flavor and sweetness. Dark chocolate provides a rich taste that complements the molten center.
→ Can I make the batter ahead of time?
Absolutely! You can prepare the batter and refrigerate it for up to 24 hours before baking. Just ensure to bring it back to room temperature before baking.
→ What should I serve with lava cakes?
These cakes are delightfully paired with vanilla ice cream or whipped cream. Fresh berries also add a nice touch of tartness.
→ How do I know when they are done?
They should be firm at the edges and slightly soft in the center. Do not overbake, or you will lose the lava effect!
Classic Chocolate Lava Cakes
Created by: Briony Ashcroft
Recipe Type: Soft Collection
Skill Level: Intermediate
Final Quantity: 4 servings
What You'll Need
Lava Cake Ingredients
- 1/2 cup unsalted butter
- 1 cup high-quality dark chocolate, chopped
- 2 large eggs
- 2 large egg yolks
- 1/3 cup granulated sugar
- 2 tablespoons all-purpose flour
- 1 teaspoon vanilla extract
- Pinch of salt
- Butter and cocoa powder for ramekins
How-To Steps
Preheat your oven to 425°F (220°C). Grease four ramekins with butter and dust with cocoa powder to prevent sticking.
In a microwave-safe bowl, combine the butter and chopped dark chocolate. Microwave in 30-second intervals, stirring until smooth.
In a mixing bowl, whisk together the eggs, egg yolks, and sugar until thick and pale. Gradually fold in the melted chocolate mixture, followed by flour, vanilla extract, and a pinch of salt.
Divide the batter evenly among the prepared ramekins, filling each about 3/4 full.
Bake for 12 minutes, or until the edges are firm but the center remains soft. Let them cool for 1 minute.
Carefully run a knife around the edges of the cakes to loosen and invert onto a plate. Serve immediately with vanilla ice cream.
Extra Tips
- For an extra flourish, you can dust the cakes with powdered sugar and serve with fresh berries to elevate your presentation.
Nutritional Breakdown (Per Serving)
- Calories: 380 kcal
- Total Fat: 26g
- Saturated Fat: 15g
- Cholesterol: 195mg
- Sodium: 85mg
- Total Carbohydrates: 32g
- Dietary Fiber: 3g
- Sugars: 24g
- Protein: 6g